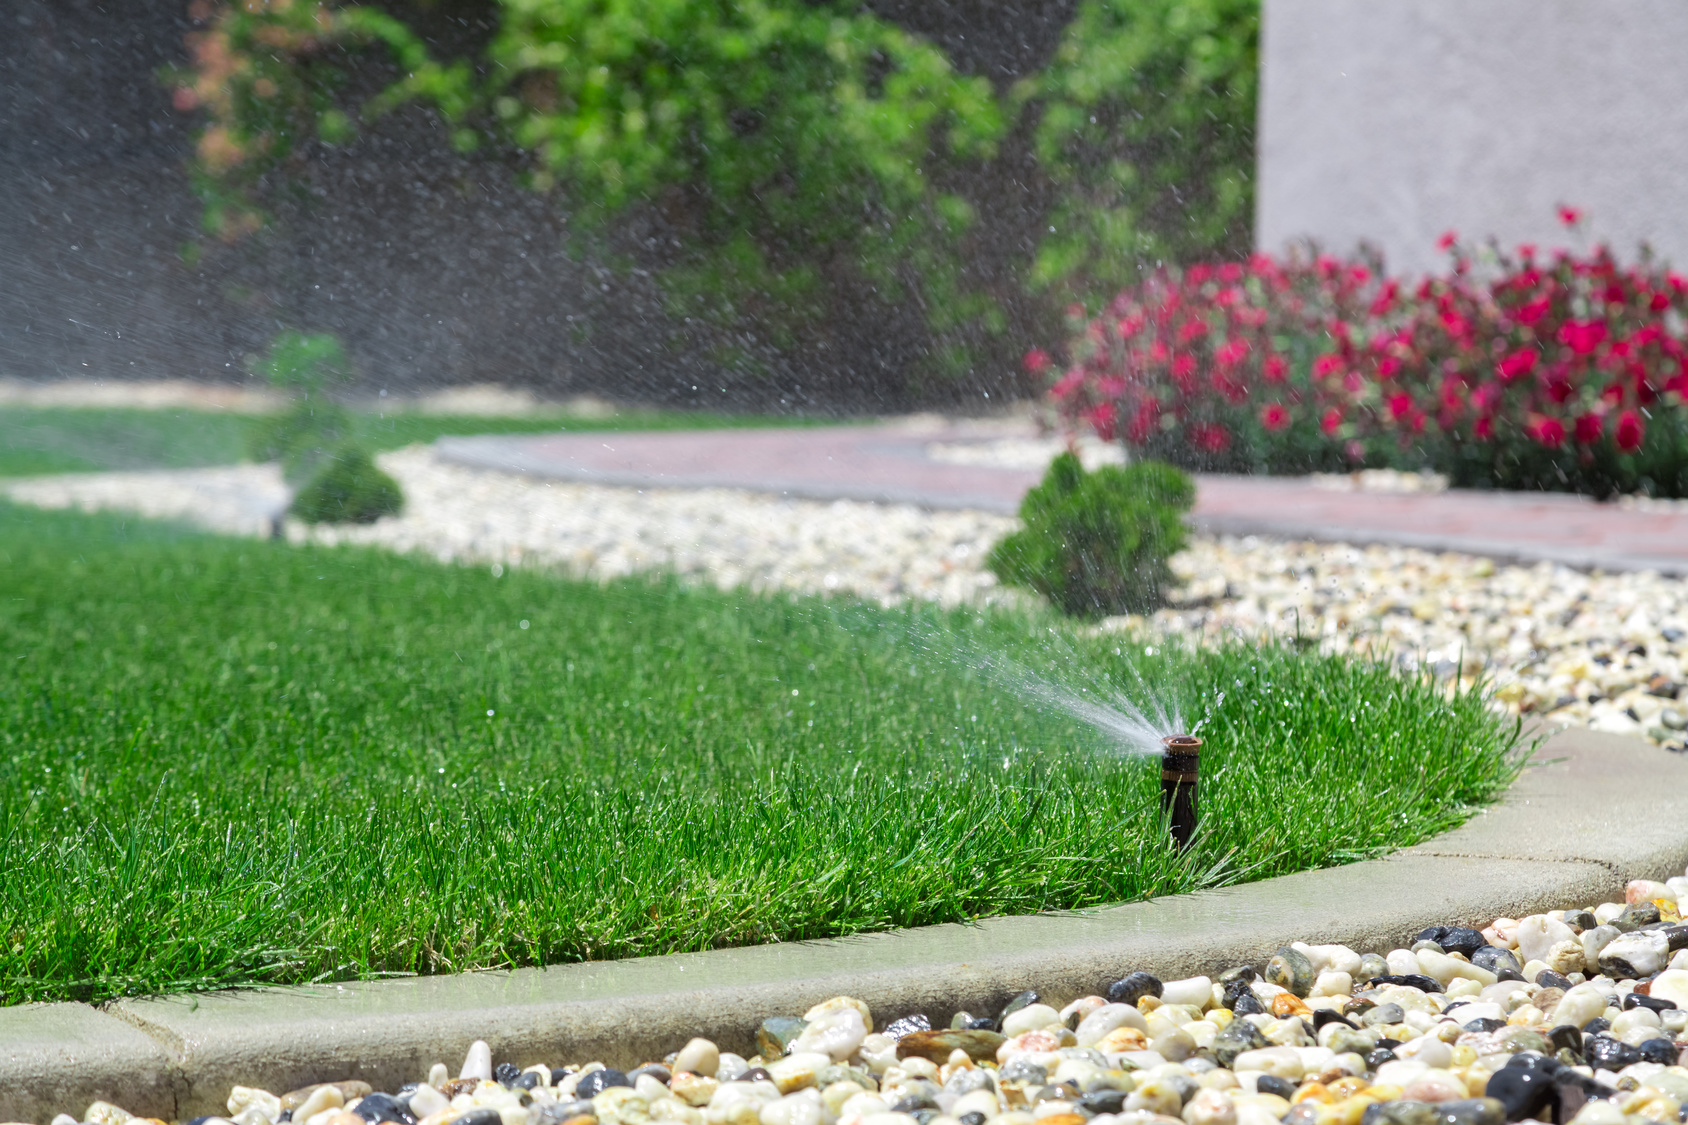
Tag - Irrigation System Backflow Testing

Irrigation and Drainage Services - Lawn Irrigation Springfield MO

Troubleshooting for Irrigation

Click Here To Download Troubleshooting for Irrigation

Troubleshooting for Irrigation

The best way to troubleshoot electrical system problems within an irrigation system is with a step-by-step approach. The method detailed below isolates and checks each of the irrigation components: the controller, zone control valves and the wiring that connects it all together.

Step 1: Check the Obvious

Before launching a thorough system diagnosis, don’t forget to check the obvious. Is the system water supply on? Are there isolation valves at the backflow preventer, pump station or in the mainline that are preventing water from flowing? Has the flow control on the valve been turned all of the way off? Reviewing these factors up front can save time and effort.

Step 2: Make Sure You Don’t Have a Programming Error

If the zone operates fine manually using the controller’s manual mode, but does not operate automatically, this usually indicates a programming error rather than an electrical problem. Review the controller’s programming guide and look for data entry mistakes.

Step 3: Know How to Use a Volt ohm Meter

An inexpensive volt ohm meter will be your most valuable tool and a required component for successful electrical trouble shooting. Volt ohm meters can be purchased in the electrical supplies section of a local hardware store, electronics shop (like Radio Shack) or your local irrigation equipment supplier. Modern digital meters are more reliable and provide an easy to read display that can give precise quantitative feedback of the system symptoms.

Step 4: Is the Controller Operational?

After these preliminary steps, you’re now ready to check the controller itself. A blank LCD display, or failure to respond to keyboard entries, could indicate a lack of power to the unit or other damage. Begin by using your volt ohm meter to take a voltage reading of the primary incoming power, to the controller. It should read somewhere between 110 to 125 volts. If it doesn’t, you’ve found your problem. But, it’s seldom that easy. In some cases, you’ll notice that the display of the controller is scrambled, missing LED segments or the entire unit is “frozen” preventing buttons or dials from entering data. This is a symptom of “micro processor lock up,” where the primary brain of the controller has become confused with bad data from electrical surges or other causes. This can often be cleared by re setting the device. Reset the controller by either disconnecting all electrical and battery power from the unit for several minutes, or by pressing a “reset” button which clears the memory of the processor and reboots the system.

Step 5: Check for a Tripped Breaker or Blown Fuse

If the controller passes these tests, next check the station output of the controller to the valves that control the area that is not being irrigated. Again using the volt ohm meter, you can check to see if the output terminals indicate the 24 volts needed to open a standard solenoid. If you do not get a reading here, you should check for a blown fuse or tripped circuit breaker within the controller. Also check the output of the transformer in the controller to make sure that it is outputting correct voltage. A blown fuse or tripped circuit breaker in most controllers indicates an overload condition in the field not a problem with the controller. If one of these conditions is present, you can certainly replace the fuse or reset the circuit breaker, however this will not solve the root cause of the problem with either the field wiring or valve solenoid.

If you are fortunate to have a top of the line controller, you may have the benefit of a more modern feature called “automatic short circuit detection” which is a specialized self diagnostic system within the controller itself. This handy feature allows the controller to identify a zone that has a fault in the field wire or valve and skip over the affected zone, eliminating a blown fuse. The best part of this feature is that the controller will digitally display a message that says: “Station 3 Error” to assist with locating the valve or field wire problem.

Step 6: Check Field Wiring

If the controller, transformer and station outputs all work properly, the next place to check is the field wiring. And this happens to be the most common place where unforeseen problems can occur.

Use the volt ohm meter and perform an “ohm test” on a specific zone circuit (common wire plus station wire), with the controller power turned off. At this point, you will want to be certain the volt ohm meter is set to the correct resistance setting so that the unit provides accurate and measurable feedback. Make sure to disconnect the wires you are testing from the controller terminal block so that your reading is specific to the wires in the field, and not mixed up with feedback through the circuits of the controller. The “ohm test” will send a pulse of current from the battery in the volt meter through the circuit. A normal reading is 20 to 60 ohms.

If the circuit has a “short,” meaning the current is taking a shortcut back to the controller, the reading may be as low as 1 to 10 ohms. If the circuit is completely broken, you will get an infinity reading, meaning there is no clear path for the electricity to flow back through the circuit and to the volt ohm meter.

A reading of a high number, but not infinity, would indicate that there is still an intact circuit, but there is a high amount of resistance in the circuit that is keeping current from flowing efficiently enough to activate a solenoid valve. This is a common symptom of a bad electrical connection, usually an underground splice that was not properly waterproofed.

Test each circuit from the controller and you will notice a pattern. The good circuits will have similar readings and the bad circuit will stand out from the others. This gives you confidence in the process and helps you work specifically to the final step of checking the valve solenoid.

Step 7: Check the Valve Solenoid

The final step in a systematic approach is to decide whether diagnosed problems in the field wiring are related to the wiring and splices, or to the specific solenoid on the valve. At this point, you will move to the actual location of the valve in the field and cut into the wires leading into the solenoid to take an ohm reading of the solenoid’s resistance. Typically, if the solenoid is bad, you will get a reading for a “short” or 1 to 10 ohms. (There is no need to test voltage at the valve since you have already “ohm tested” each circuit at the controller so you know which zones have problems.)

How To Sharpen Your Trouble Shooting Skills

Electrical trouble shooting an irrigation control system using this step by process takes time to learn, and requires a willingness to try multiple approaches before finding the solution to your problem. Many irrigation manufacturers and distributors offer training classes on electrical trouble shooting that will give you an opportunity to get hands on experience with this process.

A few hours in an irrigation trouble shooting course can provide valuable training for that hot summer day when you face stressed turf – and a system that will not operate!



Read more...
Watering Trees, Plants and Shrubs - Lawn Sprinkler Design Springfield MO

FAQ on Backflow

Click Here To Download FAQ on Backflow

Backflow Prevention – Frequently Asked Questions

What is backflow?

Backflow is the undesirable reversal of flow in a potable water distribution system through across-connection. A cross-connection is an actual or potential link connecting a source of pollu-tion or contamination with a potable water supply. Backflow may allow liquids, gases, nonpotablewater and other substances, from any source, to enter a public water system.

How does backflow occur?

Backflow may occur due to high pressure on the customer side, or low pressure in the watersystem. Backflow through a cross-connection can contaminate the potable water in a building,on a block, or throughout an entire water system.

What is backflow prevention?

Backflow prevention protects public water systems from contamination or damage throughcross-connections located in customer facilities. Backflow prevention is typically achieved byplacing a backflow prevention assembly between the customer and the public water system.This is called containment backflow prevention.

Does my water system require backflow prevention?

Missouri’s backflow prevention regulation (10 CSR 60-11.010) applies to all community watersystems. These are water systems that serve at least 15 connections or at least 25 people on ayear-round basis. Missouri has more than 1,400 community water systems. They serve morethan 4.9 million people, almost 90 percent of the state population.

Must my home or business have backflow prevention?

Many businesses must have back flow prevention. Common examples are manufacturing andprocessing plants, medical facilities, laboratories (including school chemistry and biology labs),and buildings that have boilers, fire sprinkler systems and irrigation systems.

Solely residential facilities are exempt from the rule unless a specific cross-connection is identified. For example, single-family residences with a lawn irrigation system require back flow prevention. Multi-family residences with a boiler or fire sprinkler system require back flow prevention.

Call your local water supplier to confirm whether or not back flow prevention is required at your home or business.

What kind of back flow prevention is required at my home or business?

Under the Missouri rule, three types of back flow prevention assemblies are permissible for containment: air gaps, reduced pressure principle assemblies and double check valve assemblies. The type of assembly you need depends on the type of hazard present.

Generally, where you have a back flow hazard that may threaten public health you must havean air gap or a reduced pressure principle assembly. Where there is a lesser hazard that may damage the water system or degrade the aesthetic quality of the water, a double check valve assembly is required.

Only approved back flow prevention assemblies may be used. If you can find the manufacturer and model number on your assembly you can check with your water supplier to find out if it is an approved assembly. Modifications to an assembly invalidate the approval. If your assembly looks like it has been changed, get in touch with your water supplier or a certified back flow prevention assembly tester to see if it is an approved assembly.

Water suppliers may have more strict or specific requirements than the state rule. Contact your local water supplier to make sure you have the appropriate back flow prevention assembly to meet local requirements.

Must I have my back flow prevention assembly inspected?

Yes. To ensure the device is functioning properly, a certified tester must test it at least annually.For new facilities, the assembly must be tested when installed. If the tester finds the assembly is not working, you must arrange to have it repaired and tested again. It is your responsibility to pay for the test and repairs. The tester is required to provide a copy of the test report to you and the water supplier. To obtain a list of certified testers in your area, call your water supplier or the Missouri Department of Natural Resources.

Does the back flow prevention assembly protect my entire facility?

No. The required back flow prevention assembly provides containment and it protects the public water system from hazards in your facility. Cross-connections in your own plumbing may allow contaminants to back flow from hazardous processes to drinking water taps in your building.

Back flow prevention applied within a facility to protect drinking water plumbing from process plumbing is called isolation. Isolation back flow prevention is not covered by departmental rules,but may be required by local plumbing codes. Check with your local code enforcement agencies to see what standards apply to your facility.

Additional Resource:

Cross-Connection Control Manual,

U.S. Environmental Protection Agency (EPA 816-R-03-002, February 2003);

For more information

Missouri Department of Natural Resources

Water Protection Program, Public Drinking Water Branch

P.O. Box 176

Jefferson City, MO 65102-0176

1-800-361-4827 or (573) 751-5331 office,

(573) 751-3110 fax


Read more...
The Reasons For Backflow Preventer Testing - Irrigation System Backflow Testing Springfield MO

The Reasons For Backflow Preventer Testing – Irrigation System Backflow Testing Springfield MO

Backflow is a term used to describe a condition where water flows through a water line in the opposite direction from which it was intended to flow. Numerous conditions can cause this to occur: a broken water main near your house, firefighters using a fire hydrant in your area, or incorrectly connected pumps. These conditions can cause contaminated water to flow back into the water main in front of your house.

Is Backflow A Hazardous Situation?

Definitely. One of the more common hazards is the unprotected lawn irrigation system. If the water pressure in the water main in front of your house decreases, fertilizer and pesticides can be drawn back into the water main via the lawn irrigation system. If this happens, there is a high probability that this water will end up in your household plumbing. Anyone drinking water from your household plumbing could become very ill.

Can Backflow Be Prevented?

By installing an approved backflow prevention assembly, you can rest assured that you, your family, and your neighbors are protected from contamination from your sprinkler system.

Is A Backflow Prevention Assembly Required?

The Missouri Department of Natural Resources (DNR) requires all lawn irrigation systems to have an approved backflow prevention assembly.

Does The Backflow Prevention Assembly Have To Be Tested?

DNR requires the backflow prevention assembly to be tested annually to make sure the device is working properly.

Who Performs The Backflow Prevention Assembly Testing?

The testing must be done by individuals approved by DNR for backflow prevention assembly testing. Our certified backflow inspectors at Gabris Landscaping can test and report these results for you as a part of our basic irrigation maintenance services.

In the event that your backflow device fails inspection, we can repair or replace it as well. It is quite common for a seal or spring on a backflow prevention assembly device to bust or break. We try to keep repair kits in stock for the most common devices. Depending on model and age, a backflow prevention device is occasionally less expensive to replace than repair.

Keeping your backflow valve box free of debris can speed up repairs and keep repair costs to a minimum. Maintaining a decent size limestone gravel layer inside the box underneath the backflow can absorb moisture which prevents the individual parts in a backflow assembly from rusting together. When you can not take apart the backflow because it is rusted-stuck together, the device is considered un-repairable.

Irrigation system backflow testing is included as a part of our basic irrigation maintenance program at Gabris Landscaping. We also provide lawn sprinkler backflow testing services for clients who do not wish to be included in our annual sprinkler maintenance program.

Read more...
Common Lawn Drainage Problems - Yard Drainage Systems Springfield MO

Common Lawn Drainage Problems – Yard Drainage Systems Springfield MO

Common Lawn Drainage Problems

Do you get a small lake in your backyard after a healthy rainfall? Poor lawn drainage is a problem that needs to be addressed and can be fixed.

Problems Resulting From Poor Lawn Drainage

The most common landscaping problem associated with poor lawn drainage is that most plants are not adapted to water clogged soils.

Turf grass can suffer from root rot, if sitting in water too long. Moss, on the other hand, never gets too much water. So poor lawn drainage tends to tip the balance in favor of moss over grass.

Most trees and shrubs are also not adapted to growing in water saturated soils. They also suffer from root rot and lack of oxygen. Some trees, such as bald cypresses and red maples, are better adapted to such conditions.

Another big annoyance that comes with bad lawn drainage is that you can’t enjoy your yard, let alone walk on it, until the water has completely dried out, which can take days. Walking on a wet lawn can cause soil compaction, which is also bad for your plants.

Sitting water close to your house’s foundations can be a big problem, since it may slowly sip into walls, possibly cause cracks, mold, and other problems.

Mosquitos may also be an issue. If the water stays on your lawn for two days or more, that is long enough for mosquito eggs to hatch.

Finding the Source of Your Lawn Drainage Problems

The first step to fixing your problem is to understand why it’s happening. Start by observing how water gets into your yard, and how it flows or sits. Then, you need to think about what you want to do with your landscaping and consider your possible options.

Keep in mind that no drainage is ever instantaneous. Rain water is never completely absorbed immediately by the soil. On lawns especially, roots can create a thick barrier that can greatly reduce soil permeability. Soil compaction may also be an issue.

Water always follows gravity and therefore ends up in the lowest point. When water falls on the ground, if it can’t penetrate the soil, it runs down to wherever gravity may pull it. And then it may get trapped if the place to which it runs happens to drain poorly.

So the two most important issues pertaining to lawn drainage are soil permeability and yard topography. Consider where the water is coming from and how it travels on your yard.

If a fair percentage of the water actually trickles down from elsewhere (your roof, your driveway, for instance) and ends up on your yard, then you need to find a way to divert the excess water, possibly using drains.

If the rain falls directly on your yard and it just sits there, then there are a few options.
You could work on the nature of your soil and the topography of your yard. You could also consider installing drains.

If the problem is not too major, you could simply get wet plants that enjoy the wet environment or create a rain garden.

French Drains and Yard Drains

French drains swallow up the water accumulating around the foundations of your house, while yard drains can drain water from anywhere on your yard.

In a setup where you have a French drain and yard drains, the yard drains may be connected to the French drain and the whole thing connected to the sewer system.

If you only have yard drains, then they may be connected to a dry well. Another possibility is to let the water escape to a stream.

In both cases, a good layer of gravel on top of the drains will help the water reach the tubes. And you need to ensure that the tubes are sloped so as to let the water flow towards the escape route, and not the other way around.

Installing drains is a big job that require finding someone like the drainage experts at Gabris Landscaping who know what they’re doing. Many drainage jobs involve digging out landscaping plants while the work is being done.

We will ensure that we leave enough roots for your plants to protect both the plants and their roots from the sun and from overheating or freezing, and that the roots won’t dry out. A good natural fertilizer helps your plants grow roots faster when we put them back in the ground.

There are many different types of yard drainage systems. Each method has its strengths and weaknesses. By combining the use of dry creeks, dry wells, French drains, standard drains, burms, and calculated plant placement, we are able to create some effective solutions to manage water flow and drainage issues. Our yard drainage systems solutions maintain the aesthetic appeal of your landscape while improving the functionality of the land.

Read more...
Winterize Your Lawn - Winterize Sprinkler System Springfield MO

Winterize Your Lawn – Winterize Sprinkler System Springfield MO

Winterize Your Lawn

Winter is serious business here in the Midwest. Before you know it, your beautiful lawn will be covered in a blanket of ice and snow. Be sure to prepare so that your grass, shrubs, and plants spring back to life and health when the seasons turn again. Before that happens, you need to prepare and winterize your lawn so that it will be the envy of the neighborhood, when it warms back up in the spring.

Why Winterize?

You may think that your grass just sits there waiting to freeze its roots off when the temperature starts dropping. Actually, grass is smarter than you might think. Cool season grasses can feel when the temperature begins to dip, and they know that it’s time to shunt their energy away from their surface leaves and down to their roots so that they can hibernate during the winter. Come spring, your grass will need to call on those reserves of energy to do lots of growing as the weather warms back up.

A big part of winterization is giving your lawn the right dose of high quality fertilizer so that all of your plants have plenty of energy to store through the winter. You won’t be able to do a thing for your lawn during the winter months, and by spring it will be too little, too late. The time to fertilize is before winter hits.

More Winterization Tips

If you are going to make the effort to fertilize your lawn as part of your winterization efforts, you might as well do it right. Give your lawn even more support by aerating and seeding. Aerating your lawn helps introduce more oxygen into the soil, which the roots of your grass and plants will be eager to gobble up. Seeding can also address any patchy or bald spots on your lawn that a hot summer, lots of use, and pets have a tendency to create.

You’ll definitely be able to see the results of all of your efforts if you winterize the right way. When the snows melts, your grass will spring back to life, lush, green, and healthy. The more grass that grows, the less room for weeds to find their way in!

Include Your Sprinkler System as Part of Your Lawn Winterization Plan

You could perform try to perform some of these lawn winterization tips by yourself if you have the time and the energy, but there is one more important winterization activity that you should definitely hire professionals to perform. During a long, cold winter, the frost can go deep into the ground and freeze any liquid that remains in your irrigation system. Since water expands when it freezes, it can damage your lines, which will be expensive to fix.

Call the professionals at Gabris Landscaping to perform a sprinkler blowout. We use an air compressor to forcefully blow all of the remaining water out of your irrigation system as part of our winterize sprinkler system process before the winter cold sets in. A blowout requires the use of dangerous equipment, and it is not recommended that you try to do it on your own. Instead, let us handle this last part of your winterization plan. A yearly sprinkler blowout is necessary since our winters always include deep frosts.

Don’t gamble with your sprinkler system. If you want to have a beautiful yard in the spring, you need to take the steps to winterize your yard properly.

Read more...
Watering Trees, Plants and Shrubs - Lawn Sprinkler Design Springfield MO

Watering Trees, Plants and Shrubs – Lawn Sprinkler Design Springfield MO

How to Water

Drip Systems —Advantage of drip systems is adding emitters and increasing the area watered as the plants grow, but most drip systems do not have enough well placed emitters.

Hoses — A perforated hose is a good device for watering, but can spray water in a random pattern.

Sprinklers — Your lawn sprinkler design can cover a large area but can be inefficient with plants, grass and trees because of wind and evaporation.

Watering Frequency

Water consumption rates vary among plant types. Plants that use a lot of water, such as willow trees, need more water than mature arid plants.

Root depth

Root depth has a huge impact on how often plants should receive water. For instance, deeper rooted plants do not need frequent watering periods, but somewhat surface deep roots may absorb the water faster and cannot hold the water for very long.

Watering Time

The amount of time needed to water your plants depends on your type of soil, your irrigation system, root depth, and weather. All of these characteristics of the plants can be seen by how quickly water is absorbed in the soil.

Weather

During the summer moths, plants tend to use 3 to 5 times as much water then they do during the winter. Watering your trees, plants and grass when summer is on the horizon is good practice once a week. If you have evergreen trees, in the winter they will keep moisture at their roots to keep from dying but generally the cold weather is normal for trees and plants to loose their leaves and even die.

Plant Type and Maturity

For new, young plants it is good to water them more than old established plants. After the new plants have been accustomed to their surroundings, and one year has passed it is good to start lessening the frequency of watering them. This allows the plant to adapt to lessened water and become tolerant.

Type of Soil Irrigation

Most of the time, you have multiple types of soil in your yard, but usually the top soil is what most people will see and use for their plants. However, if you have clay soil in your yard, this type holds water easily but if you have sandy soil, you should irrigate more often but less frequent.

Mulch

When water stays in the ground and does not evaporate, this is a good situation to be in because it doesn’t allow the plants to be in a drought or stressful situation. 3 to 4 inches of organic or rock mulch on top of a plant root area will reduce the frequency of watering because it is holding the water near the roots.

Under and Over-Watering Signs

When under-watering occurs, the soil becomes dry, the leaves will turn yellow or brown and can even fall off. Also, old leaves are wilted which shows the lack of water. When over-watering occurs there is water standing near the plant or tree, new leaves become yellow and brittle, shoots are wilted and mushrooms start to grow.

Read more...
Watering Your New Plants Handout - Water Sprinkler Troubleshooting Springfield MO

Watering Your New Plants Handout – Water Sprinkler Troubleshooting Springfield MO

Click Here To Download Our Newly Planted Shrub, Turf, & Tree Watering Practices 1 Page Handout

New Plant/Turf/Tree Watering Practices
The #1 cause of death for new plantings in urban areas is over watering, which is why we offer water sprinkler troubleshooting services and these guidelines. These guidelines are intended to maximize the successful establishment of new plants in the urban landscape. There are many exceptions to the following guidelines and plant specific research is encouraged for customers interested in the proper maintenance of their turf, plants, shrubs, and trees.
A smaller volume of water provided more frequently is preferred to larger volumes of water in smaller frequencies for the majority of your smaller plants and shrubs. Trees and larger shrubs prefer a slightly larger volume of water a little less frequently. The key is to keep the soil around the root system moist.
The use of tree bags are recommended for newly planted trees. They should be filled up every day for the first two weeks and about once a week for the following 6-10 weeks depending on weather conditions. After that trees should be watered once or twice a month for the first 1-2 years, even during their dormancy period, if weather permits.
All that said, the following schedule seems to be pretty effective during the Spring and Fall. I would increase the volumes and add in a few extra frequencies to compensate for additional water loss from the heat. Excessive rainfall should be compensated for as well.  If you are ever in doubt about proper watering practices, contact local experts which can be found at nurseries, the Conservation Department, and landscape service businesses.  If you are in the Midwest region and just need advice, just give us a call at (417) 837-1578


Jeffrey R. Gabris, M.B.A.

ISA Certified Arborist – MW-5363A


Read more...
CALL US TODAY!
Call Now