Backflow Prevention

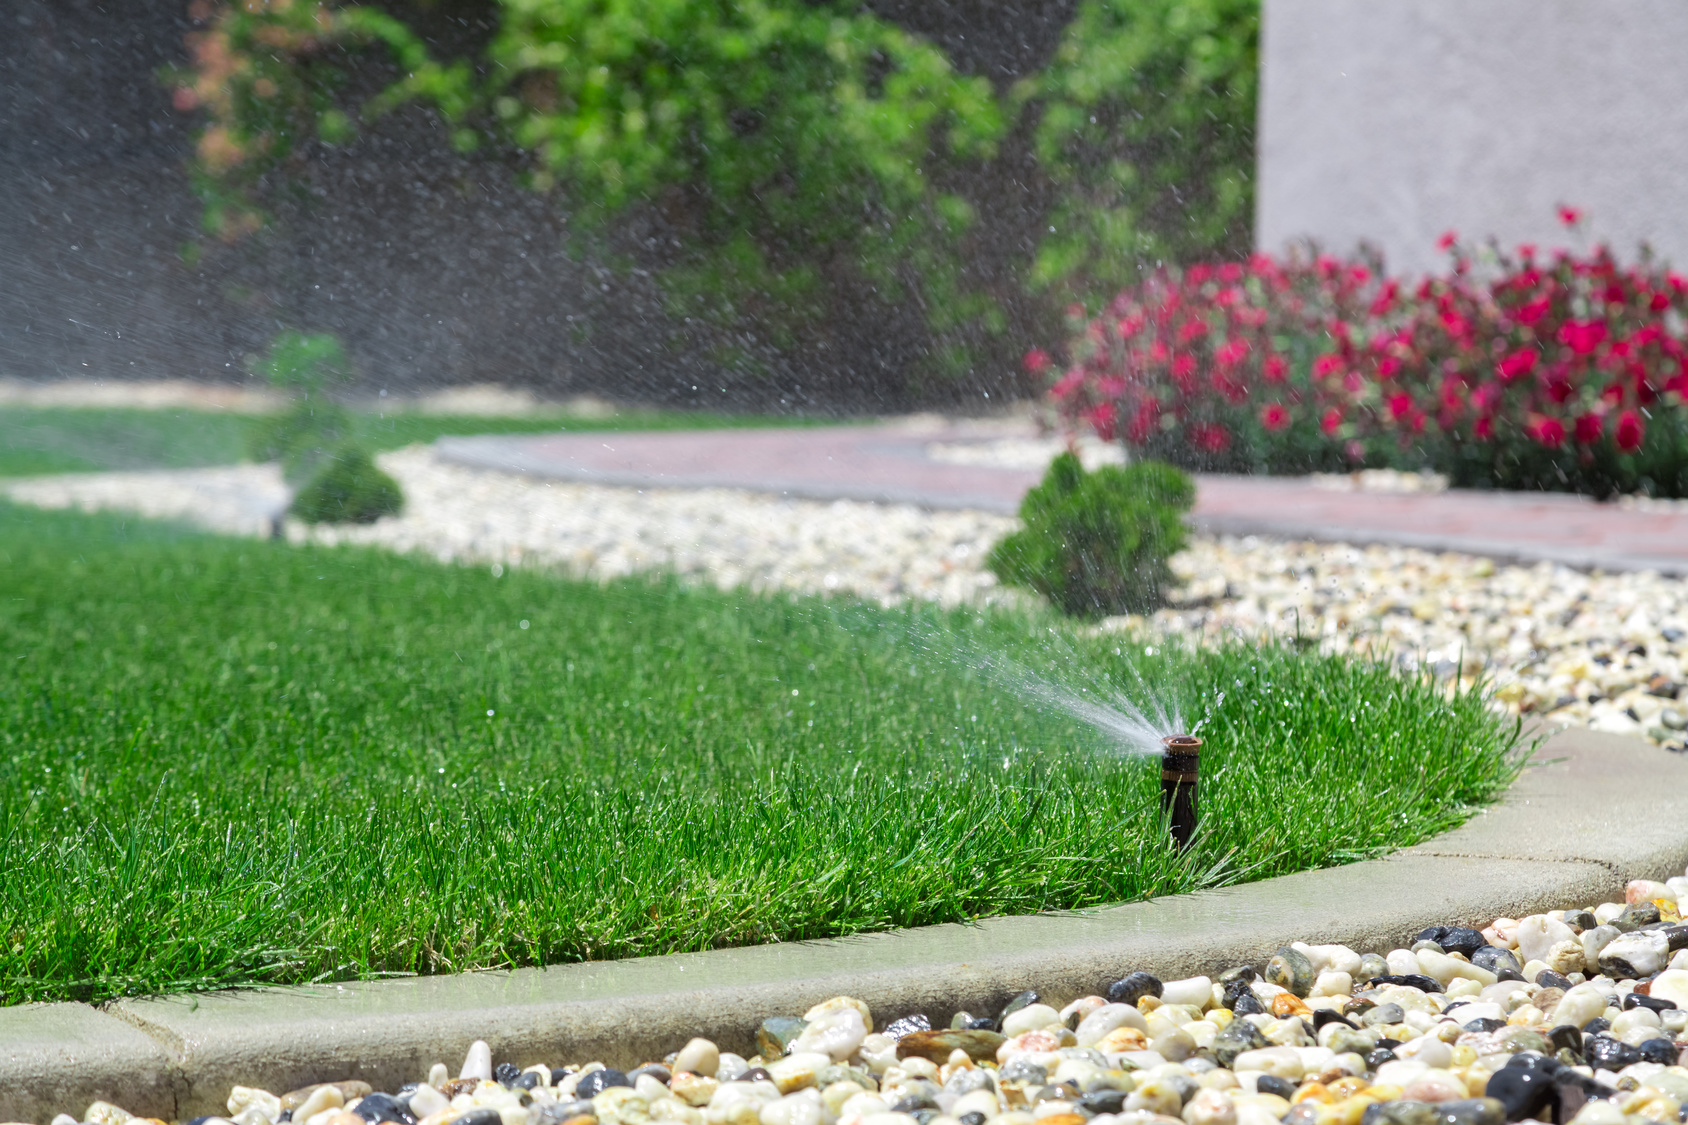
Watering Trees, Plants and Shrubs - Lawn Sprinkler Design Springfield MO

FAQ on Backflow

Click Here To Download FAQ on Backflow

Backflow Prevention – Frequently Asked Questions

What is backflow?

Backflow is the undesirable reversal of flow in a potable water distribution system through across-connection. A cross-connection is an actual or potential link connecting a source of pollu-tion or contamination with a potable water supply. Backflow may allow liquids, gases, nonpotablewater and other substances, from any source, to enter a public water system.

How does backflow occur?

Backflow may occur due to high pressure on the customer side, or low pressure in the watersystem. Backflow through a cross-connection can contaminate the potable water in a building,on a block, or throughout an entire water system.

What is backflow prevention?

Backflow prevention protects public water systems from contamination or damage throughcross-connections located in customer facilities. Backflow prevention is typically achieved byplacing a backflow prevention assembly between the customer and the public water system.This is called containment backflow prevention.

Does my water system require backflow prevention?

Missouri’s backflow prevention regulation (10 CSR 60-11.010) applies to all community watersystems. These are water systems that serve at least 15 connections or at least 25 people on ayear-round basis. Missouri has more than 1,400 community water systems. They serve morethan 4.9 million people, almost 90 percent of the state population.

Must my home or business have backflow prevention?

Many businesses must have back flow prevention. Common examples are manufacturing andprocessing plants, medical facilities, laboratories (including school chemistry and biology labs),and buildings that have boilers, fire sprinkler systems and irrigation systems.

Solely residential facilities are exempt from the rule unless a specific cross-connection is identified. For example, single-family residences with a lawn irrigation system require back flow prevention. Multi-family residences with a boiler or fire sprinkler system require back flow prevention.

Call your local water supplier to confirm whether or not back flow prevention is required at your home or business.

What kind of back flow prevention is required at my home or business?

Under the Missouri rule, three types of back flow prevention assemblies are permissible for containment: air gaps, reduced pressure principle assemblies and double check valve assemblies. The type of assembly you need depends on the type of hazard present.

Generally, where you have a back flow hazard that may threaten public health you must havean air gap or a reduced pressure principle assembly. Where there is a lesser hazard that may damage the water system or degrade the aesthetic quality of the water, a double check valve assembly is required.

Only approved back flow prevention assemblies may be used. If you can find the manufacturer and model number on your assembly you can check with your water supplier to find out if it is an approved assembly. Modifications to an assembly invalidate the approval. If your assembly looks like it has been changed, get in touch with your water supplier or a certified back flow prevention assembly tester to see if it is an approved assembly.

Water suppliers may have more strict or specific requirements than the state rule. Contact your local water supplier to make sure you have the appropriate back flow prevention assembly to meet local requirements.

Must I have my back flow prevention assembly inspected?

Yes. To ensure the device is functioning properly, a certified tester must test it at least annually.For new facilities, the assembly must be tested when installed. If the tester finds the assembly is not working, you must arrange to have it repaired and tested again. It is your responsibility to pay for the test and repairs. The tester is required to provide a copy of the test report to you and the water supplier. To obtain a list of certified testers in your area, call your water supplier or the Missouri Department of Natural Resources.

Does the back flow prevention assembly protect my entire facility?

No. The required back flow prevention assembly provides containment and it protects the public water system from hazards in your facility. Cross-connections in your own plumbing may allow contaminants to back flow from hazardous processes to drinking water taps in your building.

Back flow prevention applied within a facility to protect drinking water plumbing from process plumbing is called isolation. Isolation back flow prevention is not covered by departmental rules,but may be required by local plumbing codes. Check with your local code enforcement agencies to see what standards apply to your facility.

Additional Resource:

Cross-Connection Control Manual,

U.S. Environmental Protection Agency (EPA 816-R-03-002, February 2003);

For more information

Missouri Department of Natural Resources

Water Protection Program, Public Drinking Water Branch

P.O. Box 176

Jefferson City, MO 65102-0176

1-800-361-4827 or (573) 751-5331 office,

(573) 751-3110 fax



Read more...
Yard Drainage Systems Springfield MO

Irrigation Pump Education

Click Here To Download Irrigation Pump Education

Irrigation Pump Education

The pressure is on.  A customer has requested a pump for their irrigation system and they need it within 24 hours. Your palms start sweating. Your mouth goes dry. And your heart could likely pump blood to two full-grown adults at the rate it’s going.

Pause. Take a deep breath.

Helping a customer assess their pump needs doesn’t need to be an impossible task. By understanding the basic hydraulic formulas, pump varieties, and how to size a pump, you can better assist your customer in finding a pump that fits their needs perfectly.

The Magic Numbers: 0.433 and 2.31

Have you ever wondered how many “pumps” would inflate a basketball to the perfect PSI? 0.433 and 2.31 likely aren’t it, but when it comes to traditional pumps, these numbers are the right and left gates to the kingdom of hydraulics. In order to dive into the world of pumps, an individual needs a solid understanding of the vital function these numbers play. They are used in two ways:

1) Feet of Head to Pounds per Square Inch

To convert feet of head to pressure in PSI, multiply the feet by 0.433. One foot of water equals 0.433 PSI.

2) Pounds per Square Inch to Feet of Head

If you have the pressure but need to figure out the feet of the head, multiply the pressure by 2.31. One PSI equals 2.31 feet of water.

Gas or Diesel: Pump Varieties

Once you understand the importance of 0.433 and 2.31, you can confidently move on to the next step in the process—assessing what kind of pump the system needs. There are several varieties of pumps, but two of the most common are submersible pumps and above-ground centrifugal pumps.

Submersible Pumps

Submersible pumps are submerged underwater and out of sight, making them a great option for a homeowner who doesn’t want a pump to become a part of their landscape.

This pump consists of three parts:

  • The motor, which is located at the bottom
  • The intake screen, which is located at the middle
  • The pump itself, which is located at the top

The pump is placed in a PVC pipe with filter screens at the bottom and a well seal on top. The well seal holds the pump and discharge pipe in place. Water is able to enter through the screens (which filter out debris) and then passes over the motor to keep it cool.

Next, it enters into the pump through the intake screen and becomes pressurized by the impellers before exiting through the discharge pipe.

Above Ground Centrifugal Pump

A centrifugal pump uses an impeller to move water, and can lift water from places like a lake or storage tank.

This pump consists of two parts:

  • The motor end
  • The wet end

When the motor on this style of pump spins the impeller, a vacuum is created allowing atmospheric pressure to push water into the pump.

The water is lifted from the source where an underwater filter foot valve is placed and then goes into the suction line, where it is transferred into the pump to become pressurized.

When an irrigation system doesn’t have enough existing pressure, an inline booster pump (another type of centrifugal pump) will increase the PSI, giving the system the right amount of pressure to operate properly.

This pump consists of two parts:

  • The motor end
  • The wet end (hosts the impeller)

Now that we’ve got our feet wet looking at a couple varieties of pumps and their uses, let’s take a look at some of the basic steps to take when it comes to sizing a pump.

If the Shoe Fits: The Basics of Sizing A Pump

The plot thickens, but after reviewing both sections above, you will be up for the task. It’s time to help your customer size their pump. The six steps listed below will help you size a suction lift centrifugal pump.

Step 1: Determine the Elevation

First, determine the elevation in feet from the surface of the water to the pump. Use the hydraulic formula referenced in section one to determine this. Be careful. If the elevation and friction loss on the suction side exceed 20 feet of head, you need to reconsider your pump choice and/or pump location.

Step 2: Identify Suction Side Friction Loss

Next, identify any sources that may cause friction loss throughout your irrigation system on the suction side. You will need to assess the following:

  • Suction line size and length
  • Check valve size
  • Estimate of fitting loss
  • Any other obstructions unique to your system

Once you have identified the PSI loss for all of the above, plug the total into this formula to determine the needed feet of head:
Total PSI loss _____x 2.31= _____ Feet of Head

Step 3: Find the Greatest Pressure

The next thing you need to account for is the greatest pressure that will be required for the type of sprinkler heads your irrigation system uses. Find your type of sprinkler head below, and plug the greatest pressure required for that head into this formula: PSI ____x 2.31=_____ Feet of Head

  • Rotors: 25-90 PSI
  • Sprays: 15-30 PSI
  • Drip: 20-30 PSI

Step 4: Account for Elevation

For this step, simply figure out the elevation in feet from the pump to the highest outlet.

Step 5: Identify Discharge Side Friction Loss

Above, we determined the friction loss for the suction side of the pump. Now we need to define the friction loss for the systems discharge side (also known as the “worst zone”). You will need to assess the following.

  • Mainline size and length
  • Sprinkler valve size
  • Estimate of fitting loss
  • Backflow/filtration

Once you have identified the PSI loss for all of the above, plug the total PSI loss into this formula to determine the needed feet of head:

Total PSI loss _____x 2.31= _____ Feet of Head

Step 6: Total Out The Dynamic Feet of Head

Finally, to figure out the dynamic feet of head your system needs, add the totals from step one through five together.

_____ = Total Feet of Head

Following the step-by-step process listed above will help assist you in determining what kind of a pump is right for your customer’s project. An irrigation pump sizing worksheet, like the one attached at the end of this paper, will help you account for any other information needed to help your customer make an informed pump selection.

After you have completed the Irrigation Pump Sizing Information Worksheet, you should have two numbers: one for the total feet of head, and one for the gallons per minute (GPM). Follow these steps to chart your pump curve:

Step 1: Plot your GPM. It is advised to add a 10 percent safety margin. (Follow the numbers listed along bottom of the graph).

Step 2: Plot your total feet of head. It is advised to add a 10 percent safety margin. (Follow the numbers listed along the left side of the curve).

Step 3: Use a horizontal and vertical axis to determine what a specific flow would be for your total feet of head.

Step 4: Multiply your total feet of head by .433 to get your PSI.

Step 5: The closer the axis intersect is to the center of the curve, the more efficient the pump will be. Remember that all pumps have their own individual curve

Nice work! After completing all of the sections above, you should be able to better assist your customer with their pump selection. Should you encounter additional questions, always refer to a pump expert before making a formal recommendation. You can do so with Ewing’s pump experts at 1-844-PUMP-PRO.


Read more...
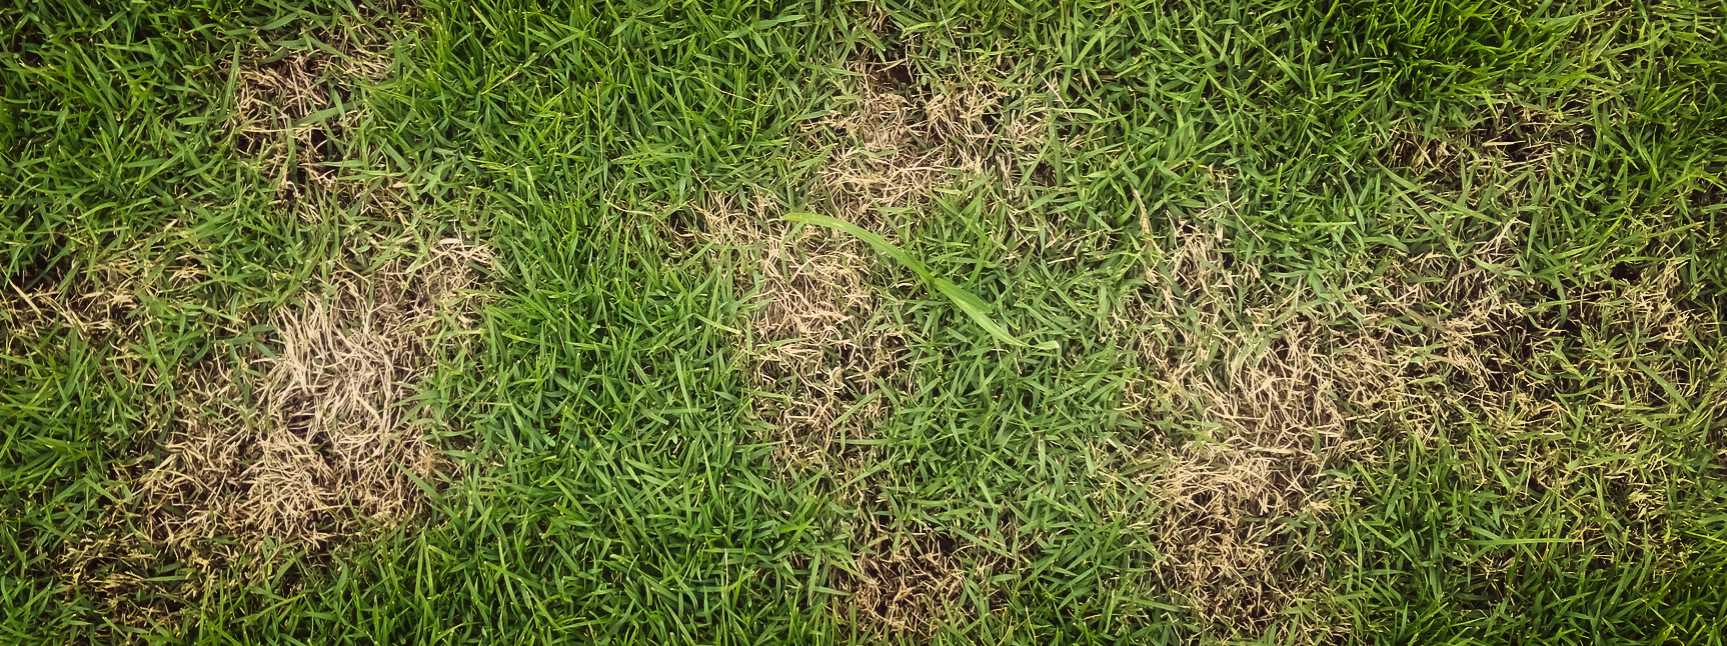
Avoiding Brown Spots In Your Yard - Lawn Care Services Springfield MO

Japanese Beetles

Click Here To Download Japanese Beetles

Japanese Beetles

Tree species affected: Japanese beetles are known to feed on over 300 plant species. Linden (basswood), elm, crabapple, sycamore (planetree), sassafras, plum, cherry, and bald cypress are commonly damaged, as well as grape and rose.

Concerns: Lacy, skeletonized leaves. Partial or entire defoliation.

Description: Japanese beetles feed on the upper surface of leaves, leaving behind veins. Damage is frequently seen near the top of the tree or plant first. These beetles often feed in groups.

Insecticides are not compatible with trying to maintain a pollinator-friendly yard and should never be used on flower-ing plants or trees that will attract bees and other pollinators.

Frequently Asked Questions

What is the lifecycle of the Japanese beetle?

Japanese beetles spend most of their one-year lifecycle under-ground as a white, c-shaped grub. These grubs feed on grass roots and can damage turf if populations are high. Grubs pupate in late spring and emerge from the ground as adult beetles around mid-June in Missouri. These beetles congregate on host plants, particularly those in full sun. Japanese beetles congregate through a combination of pheromones released by females and floral scents emitted by the damaged host. After mating, each female beetle lays 40-60 eggs in the soil over the course of her 30-45 day lifespan. These eggs hatch into grubs in July and August. Most adult Japanese beetles are gone for the year by mid-August.

Will Japanese beetles kill my trees?

Healthy, established trees can typically tolerate a heavy amount of feeding damage. However, this damage is a source of stress for trees. You can help your trees by watering them 2-3 times per month during dry times to avoid additional stress from drought. A good rule of thumb is ten gallons of water per inch of a tree’s diameter.

Should I use a Japanese beetle trap?

Be cautious when using Japanese beetle traps as they are very effective at bringing beetles in from areas well outside of your yard. Traps don’t catch all the beetles they attract, so nearby plants may be heavily damaged. If you decide to use a trap, place it at least 100 feet away from plants you want to protect. Dispose of trapped beetles frequently by dropping them into a bucket of soapy water.

If I control the Japanese beetle grubs in my lawn, will I have fewer beetles next year?

Controlling Japanese beetle grubs in your lawn won’t significantly reduce the number of beetles you see next year. Japanese beetles are strong fliers and can continue to fly in from neighboring areas over a mile away.Grub control may have more of an impact if you live in a forested area where turf grass is uncommon.

How can I control Japanese beetles?

For light infestations on shrubs and young trees, handpicking is an effective method of control. Beetles are typically sluggish and easy to capture early in the morning. Shake stems and branches with Japanese beetles over a bucket of soapy water.

Several contact insecticides are available for control of Japanese beetle adults (e.g. acephate, carbaryl, cyfluthrin, permethrin); check the label to confirm Japanese beetles and your plant species are listed. These chemicals may need to be reapplied at labeled intervals, especially in hot or rainy weather. Organic products containing azadiractin and spinosad are effective deterrents for a few days. Neem oil may be useful in deterring beetles from feeding if used at the first sign of damage.

Systemic insecticides, such as those containing imidacloprid, can be applied as a soil drench to protect some types of trees from Japanese beetles (follow all label restrictions). However, this product would need to be applied in early June in order to be effective since it can take 4-6 weeks for a tree to translocate the chemical from soil to the leaves.

Due to impacts on pollinators, systemic insecticides should not be applied before or during the bloom period on any plant. In addition, use of many IMIDACLOPRID products (e.g. Bayer Advanced Tree & Shrub Insect Control) is NOT ALLOWED on LINDEN (BASSWOOD), a common host tree of Japanese beetles.Product labels contain new restrictions due to frequent misuse and impacts on pollinators.

Are there any biological controls for Japanese beetles?

No biological controls are currently available for managing adult Japanese beetles. Two products are available for biological control of Japanese beetle grubs in the soil.Neither product is 100% effective.

  • Milky spore (milky disease bacteria)isa long-term control technique that can help reduce grub populations in 2-3 years. Introduce milky spore into several spots in your yard ina grid pattern.Once in the soil, the spores will be present for many years. Milky spore requires specific temperature and moisture conditions to infect grubs, so effectiveness varies.
  • Nematodes of the Heterorhabditisstrains will attack grubs.Because soil moisture is critical for nematode survival, it can be difficult to maintain proper conditions for nematodes and avoid overwatering plants.Nematodes need to be applied every year up to three times during the grub stage.

What should I do next year to protect my trees?

Keep an eye out in mid-June for Japanese beetles. Handpick beetles off small or newly planted trees. Preventing early feeding damage can protect trees in the following weeks. If populations are too high to remove by hand, spray an insecticide labeled to control Japanese beetles on your particular tree species. Repeat, if needed, at labeled intervals.

For large established trees, help reduce stress caused by Japanese beetle feeding through good tree care practices: water trees 2-3 times per month during drought conditions, avoid wounding by mowers and weed trimmers, and, if used, keep mulch rings no deeper than 3”.

Do weather conditions impact Japanese beetle populations?

Drought conditions in July and August can lead to the death of many newly hatched grubs. During severe droughts, irrigated areas and some low-lying wet locations may be the only places that grubs survive. Harsh winter conditions can also be a limiting factor in Japanese beetle grub survival. Grubs are killed when soil temperatures reach 15°F or when soils remain near 32°F for two months, (snow cover can significantly insulate soils from frigid air). A cold winter without much snow could greatly reduce the following year’s adult beetle population.

Read more...
CALL US TODAY!
Call Now